- Posts: 1299
- Thank you received: 1166
1965 F250’s Rejuvenation
Less
More
2 years 1 month ago #232868
by Southbound
I'd rather have tools that I don't need, than not have the tools I do need.
Replied by Southbound on topic 1965 F250’s Rejuvenation
The 200 and 250 Falcon engines (pre cross flow) used to have a problem with valve guide seals. I've replaced a lot back in the day, it's not a difficult job to do with an 'on the car' valve spring compressor.
I'd rather have tools that I don't need, than not have the tools I do need.
The following user(s) said Thank You: PaulFH
Please Log in to join the conversation.
2 years 1 month ago - 2 years 1 month ago #232872
by Urchy87
Adventure before Dementia.
Replied by Urchy87 on topic 1965 F250’s Rejuvenation
I replaced what I believe to be valve guide seals when I had the head off, they were the umbrella type. Next time I take the valve cover off I’ll make check they are sitting down correctly. Once I have the tray back on I’ll load it up and take it for a bit of a run around the place, too damn rough with no tray on it. Fingers crossed that makes the difference. The next time I replace the oil I was thinking of running an oil flush through it so that could also help. They are meant to dissolve unwanted deposits. Might free the rings up if they are stuck.
Speaking of trays, one of my next jobs is to put the it back on. The method of attachment when I pulled it off was lengths of wood between the chassis and tray then that was clamped down with threaded rod with top and bottom plates with double nuts to hold them in position (basically a U bolt). Is that still a done thing? I’m going to change the tray soon enough so want to keep it simple.
I found an old thread of mammoth’s talking about it but there isn’t really a yes or no to the use of timber or clamps. Is this method acceptable? A friend who does roadworthy’s mentioned if that’s how it was done originally it should be sufficient.
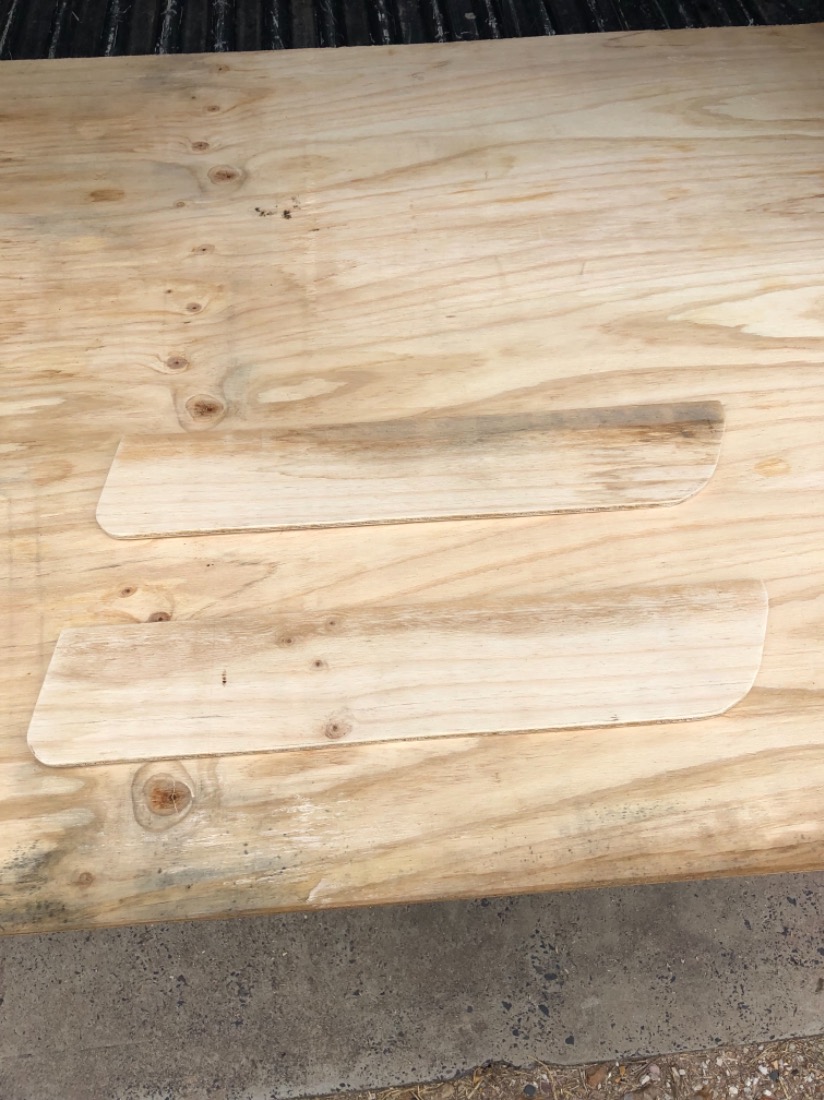
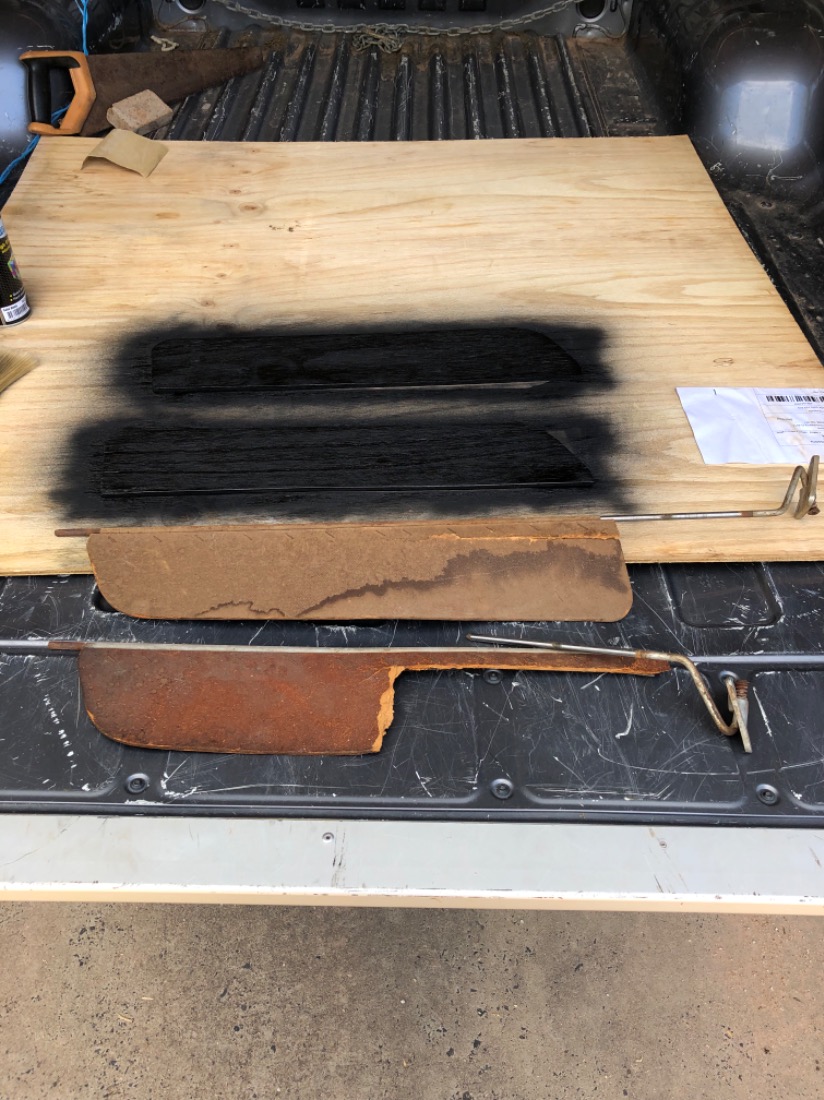
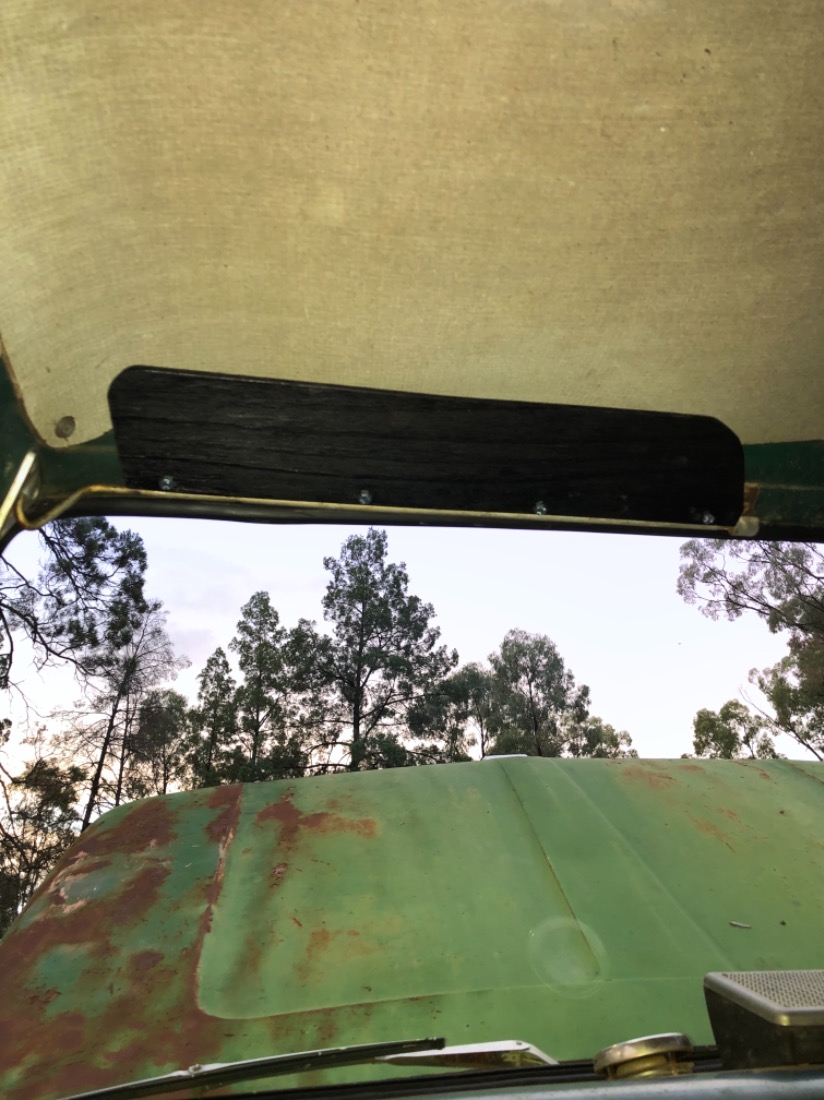
Replaced the old visors today. Not sure if it will fly but it was running the originals still which were just masonite. They were broken but used them as a template on 3 ply, painted them black and bolted them on. See how it goes.
Speaking of trays, one of my next jobs is to put the it back on. The method of attachment when I pulled it off was lengths of wood between the chassis and tray then that was clamped down with threaded rod with top and bottom plates with double nuts to hold them in position (basically a U bolt). Is that still a done thing? I’m going to change the tray soon enough so want to keep it simple.
I found an old thread of mammoth’s talking about it but there isn’t really a yes or no to the use of timber or clamps. Is this method acceptable? A friend who does roadworthy’s mentioned if that’s how it was done originally it should be sufficient.
Replaced the old visors today. Not sure if it will fly but it was running the originals still which were just masonite. They were broken but used them as a template on 3 ply, painted them black and bolted them on. See how it goes.
Adventure before Dementia.
Last edit: 2 years 1 month ago by Urchy87.
The following user(s) said Thank You: cobbadog, oliver1950
Please Log in to join the conversation.
2 years 1 month ago #232876
by cobbadog
Cheers Cobba & Cobbarette
Coopernook, The Centre of our Universe
Working on more play time.
Replied by cobbadog on topic 1965 F250’s Rejuvenation
The old grey Holden engines originally used the mushroom style valve guide seals then one time when I had the head of for some work I was handed over "O" ring style seals. They worked too.
Cheers Cobba & Cobbarette
Coopernook, The Centre of our Universe
Working on more play time.
The following user(s) said Thank You: Urchy87
Please Log in to join the conversation.
2 years 1 month ago #232884
by Morris
I have my shoulder to the wheel,
my nose to the grindstone,
I've put my best foot forward,
I've put my back into it,
I'm gritting my teeth,
Now I find I can't do any work in this position!
Replied by Morris on topic 1965 F250’s Rejuvenation
Urchy87, as you have already replaced the stem seals ignore what I said. As others have suggested, when you have the tray back on take it for a few drives and work it a bit. There is a very good chance the smoke will stop. The threaded rods with double nuts sound good to me.
I have my shoulder to the wheel,
my nose to the grindstone,
I've put my best foot forward,
I've put my back into it,
I'm gritting my teeth,
Now I find I can't do any work in this position!
Please Log in to join the conversation.
Less
More
- Posts: 6816
- Thank you received: 4694
2 years 1 month ago #232891
by Mrsmackpaul
Your better to die trying than live on your knees begging
Replied by Mrsmackpaul on topic 1965 F250’s Rejuvenation
Thats the way I would attach the tray, normally a bit of wood is cut to neatly get hammered in between the flanges so you cant bend them when the clamps are tightened up
Paul
Paul
Your better to die trying than live on your knees begging
Please Log in to join the conversation.
Less
More
- Posts: 257
- Thank you received: 313
2 years 1 month ago #232906
by Inter-Action
Replied by Inter-Action on topic 1965 F250’s Rejuvenation
Hardwood between tray and chassis is the way i do it. Most old trucks were set up that way. If i am making my own clamps i use 50 x 8 mm
flat , bend to shape . I make up a second flat bent up the same as the top, upside down then pull together with high tensile bolts. I also cut a good solid piece of hardwood to fit tightly in the chassis channel. These go directly behind the flat clamp and avoid distorting chassis flanges .Then when it's all pulled up tight , the clamps wont twist (flat verses bolt) and plates. Hope that makes sense. Bit if extra work but ,you can be pretty confidant things will stay where there should. Maybe less likely to get chipped on welded bolts by the authorities.
flat , bend to shape . I make up a second flat bent up the same as the top, upside down then pull together with high tensile bolts. I also cut a good solid piece of hardwood to fit tightly in the chassis channel. These go directly behind the flat clamp and avoid distorting chassis flanges .Then when it's all pulled up tight , the clamps wont twist (flat verses bolt) and plates. Hope that makes sense. Bit if extra work but ,you can be pretty confidant things will stay where there should. Maybe less likely to get chipped on welded bolts by the authorities.
Please Log in to join the conversation.
2 years 1 month ago #232913
by Urchy87
Adventure before Dementia.
Replied by Urchy87 on topic 1965 F250’s Rejuvenation
Thanks guys. If you happen to have some photos I’d appreciate a visual of your methods. All going to plan it will be about a month to 6 weeks before I’ll be tackling the tray so that gives time to get any materials I might need. Thanks.
Adventure before Dementia.
The following user(s) said Thank You: cobbadog
Please Log in to join the conversation.
2 years 1 month ago #232918
by Dave_64
Replied by Dave_64 on topic 1965 F250’s Rejuvenation
Yeah, a few photos or even drawings would be good!
Not far off sitting an alloy tray on my chassis as well, Thanks.
Dave_64
Not far off sitting an alloy tray on my chassis as well, Thanks.
Dave_64
Please Log in to join the conversation.
2 years 1 month ago #232933
by cobbadog
Cheers Cobba & Cobbarette
Coopernook, The Centre of our Universe
Working on more play time.
Replied by cobbadog on topic 1965 F250’s Rejuvenation
My understanding of Urchy's method is to make 2 "U" shaped sections that fit neatly over the rails and chassis with flanges on each side and bolt holes in them. When put in place there must be a gap so when the high tensile bolts are tightened they come closer together.
At the same time he has made a block of hardwood to fit neatly and tight into the "C" section of the chassis rail to stop compression of the chassis.
Sorry Urchy if this is wrongly described.
At the same time he has made a block of hardwood to fit neatly and tight into the "C" section of the chassis rail to stop compression of the chassis.
Sorry Urchy if this is wrongly described.
Cheers Cobba & Cobbarette
Coopernook, The Centre of our Universe
Working on more play time.
The following user(s) said Thank You: Dave_64
Please Log in to join the conversation.
2 years 1 month ago #232934
by Urchy87
Adventure before Dementia.
Replied by Urchy87 on topic 1965 F250’s Rejuvenation
Dave_64 If we don’t see any photos I will post up how I have done it. Might give you inspiration if you haven’t done yours and if I’m told it’s wrong we can both learn from my mistake.
Past couple afternoons I’ve been chipping away at the interior. Floor protrusions have been covered up and the seat reinstalled. Sorting out the protrusions took so much longer than installing the seat. It’s far from perfect but it’s going to do what I want it to do. I’ve intentionally left the protrusion shrouds rusty to go with the ‘style’ I’m aiming for. Again, ignore the steering wheel. Let’s call the current style a prototype/practice for what I would like to do.
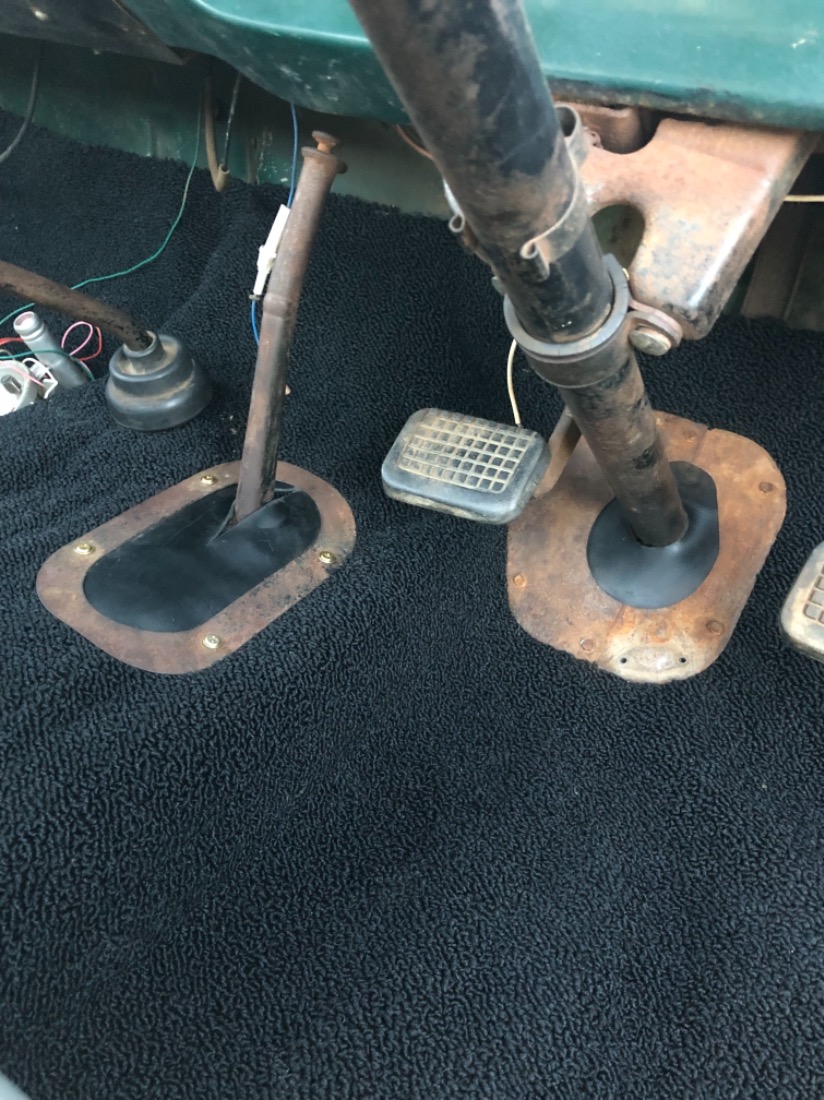
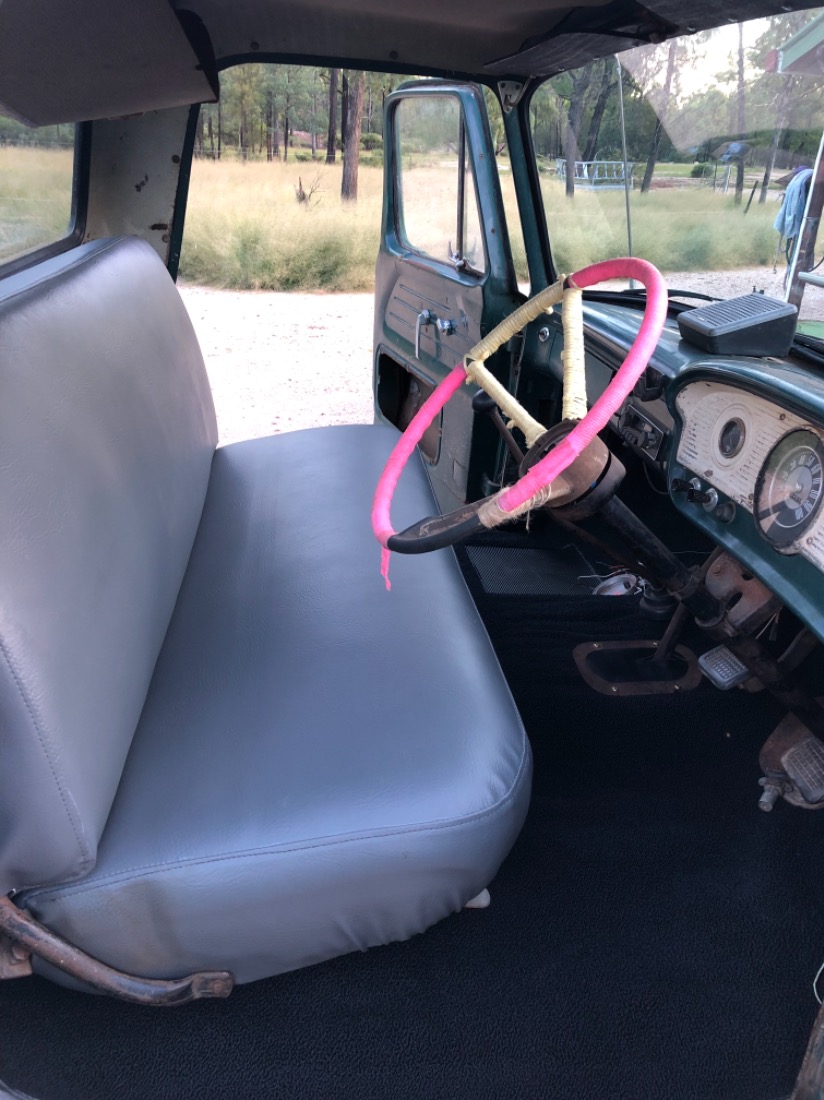
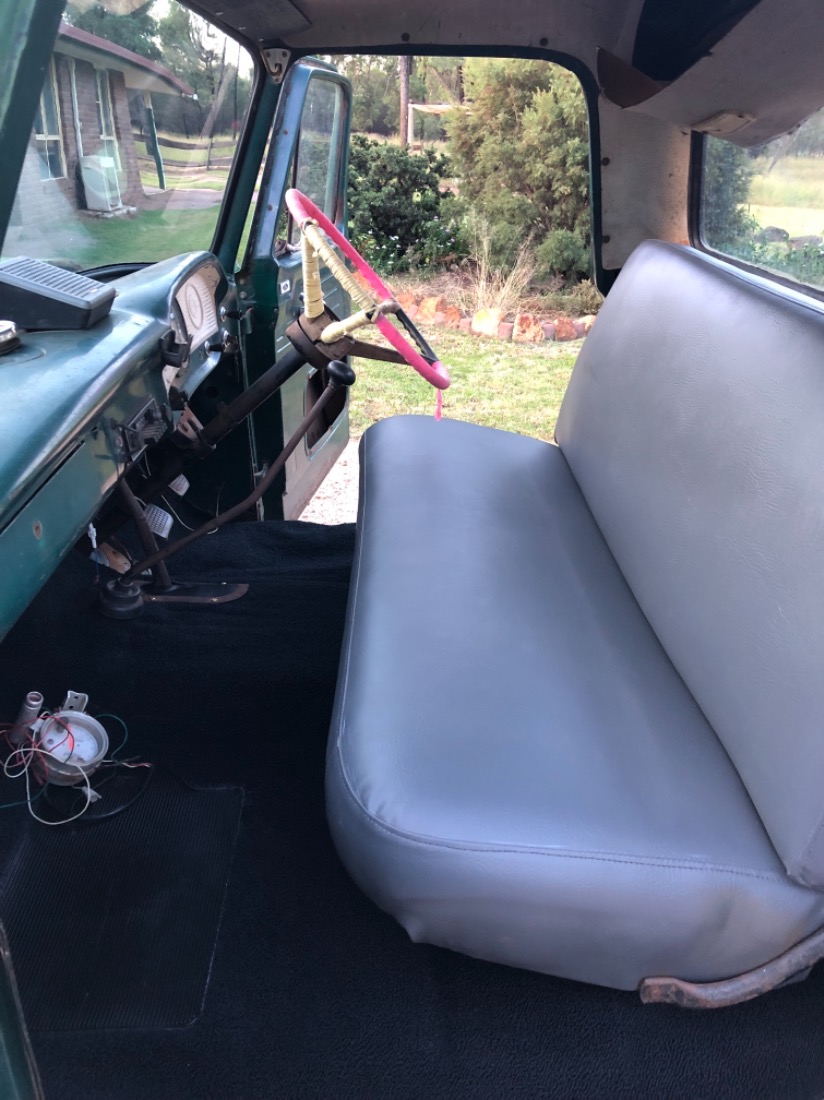
Past couple afternoons I’ve been chipping away at the interior. Floor protrusions have been covered up and the seat reinstalled. Sorting out the protrusions took so much longer than installing the seat. It’s far from perfect but it’s going to do what I want it to do. I’ve intentionally left the protrusion shrouds rusty to go with the ‘style’ I’m aiming for. Again, ignore the steering wheel. Let’s call the current style a prototype/practice for what I would like to do.
Adventure before Dementia.
The following user(s) said Thank You: 180wannabe, cobbadog, Dave_64, Mrsmackpaul, PaulFH, Southbound
Please Log in to join the conversation.
Time to create page: 0.590 seconds