- Posts: 36
- Thank you received: 1
Grey ghost restoration tentative steps
9 years 2 months ago #154897
by Dave01
Not sure how interesting this is to others but here are some pictures of a few simple things I am working on (and within my capacity?!) for 400208.
Thanks to a few forum members I have lined up some expertise to come and service / go over the truck and head me in the right direction and I can learn some basics at the same time.
Once this is done I thought I might put out a call for bits and pieces to buy to help get the truck back to a more original state?
Regards David
Grey ghost restoration tentative steps was created by Dave01

Not sure how interesting this is to others but here are some pictures of a few simple things I am working on (and within my capacity?!) for 400208.
Thanks to a few forum members I have lined up some expertise to come and service / go over the truck and head me in the right direction and I can learn some basics at the same time.
Once this is done I thought I might put out a call for bits and pieces to buy to help get the truck back to a more original state?


Regards David
Please Log in to join the conversation.
9 years 2 months ago #154898
by werkhorse
You might Laugh at me because I'm different, I laugh at you because you're all the same
Replied by werkhorse on topic Re: Grey ghost restoration tentative steps
Ya gotta start somewhere Dave ") and the only true way to get to know the old girl is have a go ya self.
and the only true way to get to know the old girl is have a go ya self.
Lookin forward to somel updates as ya go")
and the only true way to get to know the old girl is have a go ya self.Lookin forward to somel updates as ya go
You might Laugh at me because I'm different, I laugh at you because you're all the same
Please Log in to join the conversation.
Less
More
- Posts: 1584
- Thank you received: 839
9 years 2 months ago #154899
by BillyP
I CAME INTO THIS WORLD WITH NOTHING & STILL HAVE MOST OF IT.........................
I used to be a truck driver,
but i am now not a truck driver ,
on a good day i can remember
that i used to be a truck driver.
Replied by BillyP on topic Re: Grey ghost restoration tentative steps
GDay Davo,
I think a lot of people will be more than interested in what your up to,(me included).
A few more pics of the beast would be appreciated.
Best of luck, (it does come in handy).
.............Billy.................
I think a lot of people will be more than interested in what your up to,(me included).
A few more pics of the beast would be appreciated.
Best of luck, (it does come in handy).
.............Billy.................
I CAME INTO THIS WORLD WITH NOTHING & STILL HAVE MOST OF IT.........................
I used to be a truck driver,
but i am now not a truck driver ,
on a good day i can remember
that i used to be a truck driver.
Please Log in to join the conversation.
9 years 2 months ago #154900
by Dave01
Replied by Dave01 on topic Re: Grey ghost restoration tentative steps
Thanks werk and Billy,
Will get some more pics up soon.
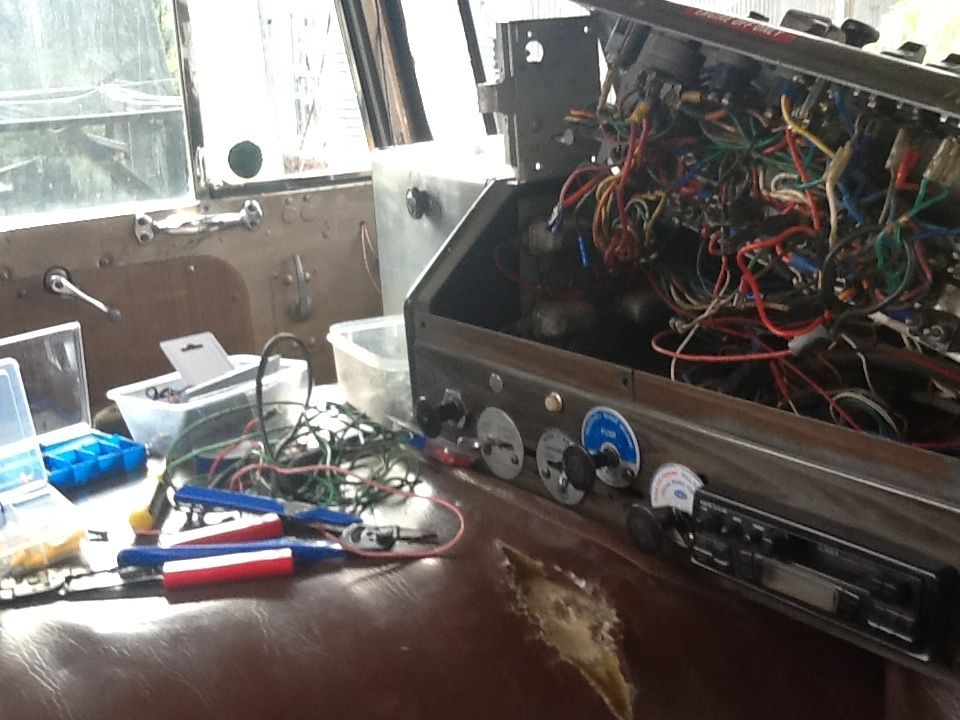
Working my way through some wiring, replacing frayed and brittle old wires, worn out connections etc
Discovered thanks to Swishy's wiring list (from a previuos post)and numbering list, that the jake brake wires were connected to the fan and visa versa, also many of the wires still have the small tags with numbers on, which helped make sense tracking them.
Cheers Dave
Will get some more pics up soon.
Working my way through some wiring, replacing frayed and brittle old wires, worn out connections etc
Discovered thanks to Swishy's wiring list (from a previuos post)and numbering list, that the jake brake wires were connected to the fan and visa versa, also many of the wires still have the small tags with numbers on, which helped make sense tracking them.
Cheers Dave
Please Log in to join the conversation.
9 years 2 months ago #154901
by andy950
Replied by andy950 on topic Re: Grey ghost restoration tentative steps
ya might find one of the switches doesn't work, hence why they've been swapped around, done it myself before to get out of trouble
Please Log in to join the conversation.
9 years 1 month ago #154902
by Dave01
Replied by Dave01 on topic Re: Grey ghost restoration tentative steps
Thanks Andy,
Good thinking, will check/ test the switches as I go through the wiring replacements, one at a time I reckon so can keep track!
Replaced some wiring to the jakes and knocked the emergency stop, wondered why the GM would not fire up. Luckily after a few turns, thought best to leave it and do some research - found an old post here suggesting check the emergency stop - sure enough that was it. (Phew)

Please Log in to join the conversation.
9 years 1 month ago #154903
by Dave01
Replied by Dave01 on topic Re: Grey ghost restoration tentative steps
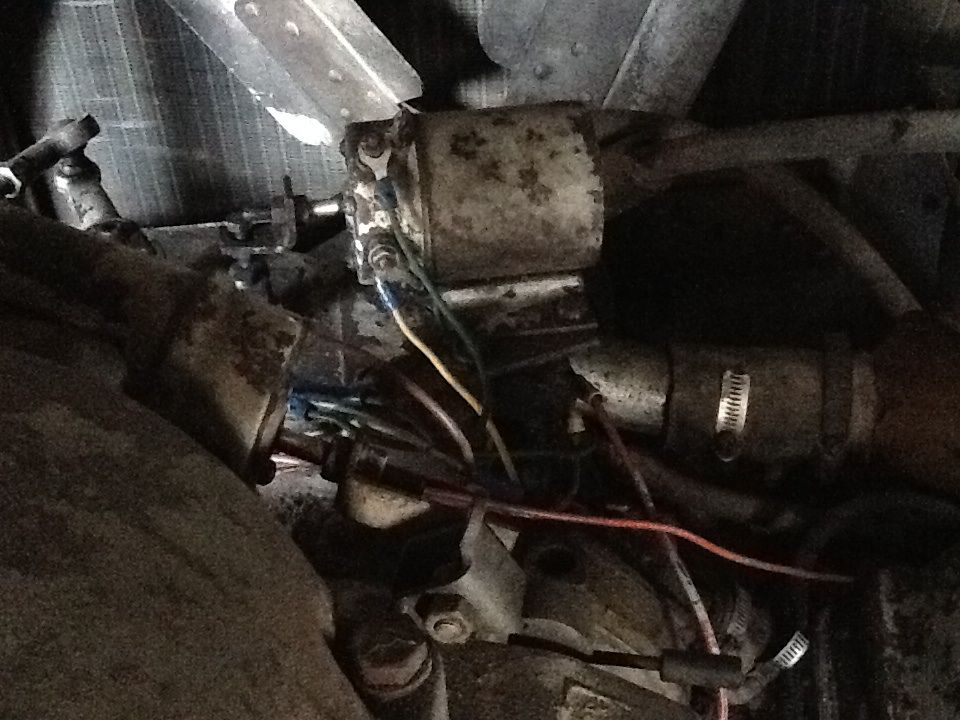
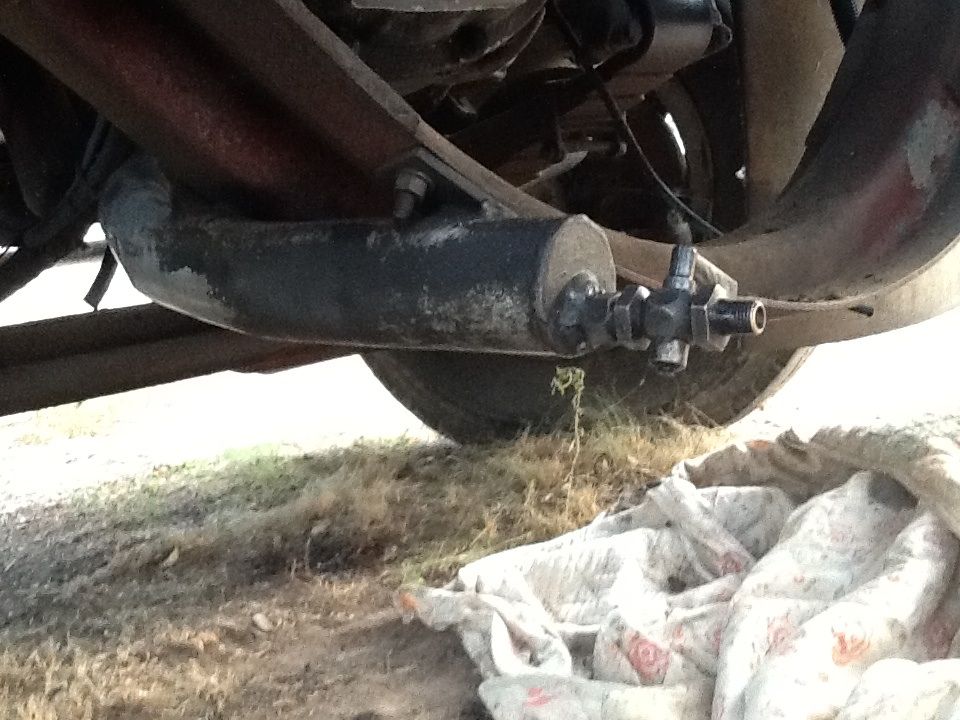
This truck is fitted with a pipe with tap to catch the drips from the 'drizzle tubes' Have pulled out the rubber tubes to make sure they are letting the sludge out, and all seems ok?

Please Log in to join the conversation.
9 years 1 month ago #154904
by Dave01
Replied by Dave01 on topic Re: Grey ghost restoration tentative steps
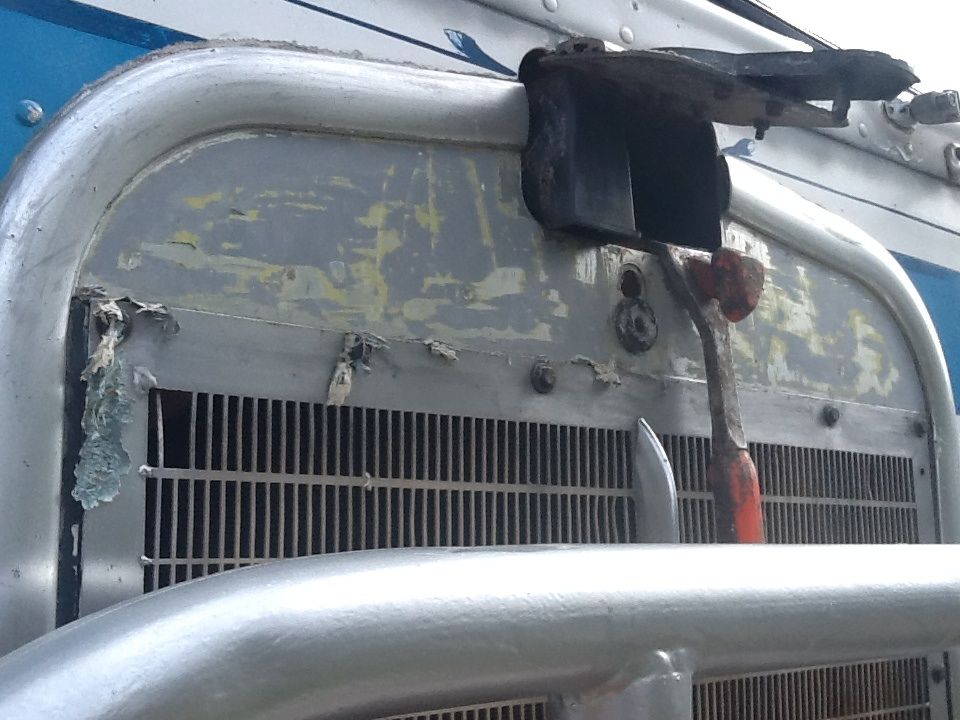
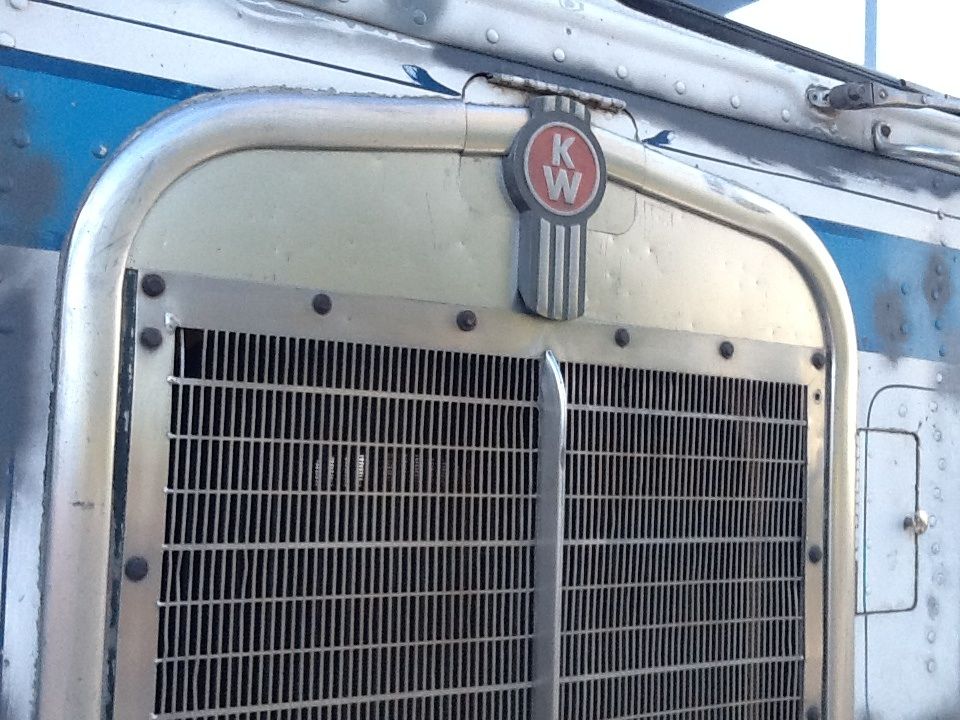
Scraped off the paint from the top of the grill and gave a polish- scrubbed up ok.
Cheers Dave
Cheers Dave

Please Log in to join the conversation.
9 years 1 month ago #154905
by andy950
Replied by andy950 on topic Re: Grey ghost restoration tentative steps
same as mine, blows oil everywhere when running, thinking about making up something similar to catch the oil, and I have the opposite trouble, mine wont shut down,althugh I cant jack the cab up yet to check it out, saving me pennys for a new cab jack at the moment, very hard as all overtime has been cut :
Please Log in to join the conversation.
9 years 5 days ago #154906
by Dave01
Replied by Dave01 on topic Re: Grey ghost restoration tentative steps
Moving along slowly...and thanks to a wealth of on information from many but especially werk for the original images and help from AussieEd at dubbo, have managed track some cab roof lights to match the original style to replace the bullet type and so set about the swap.
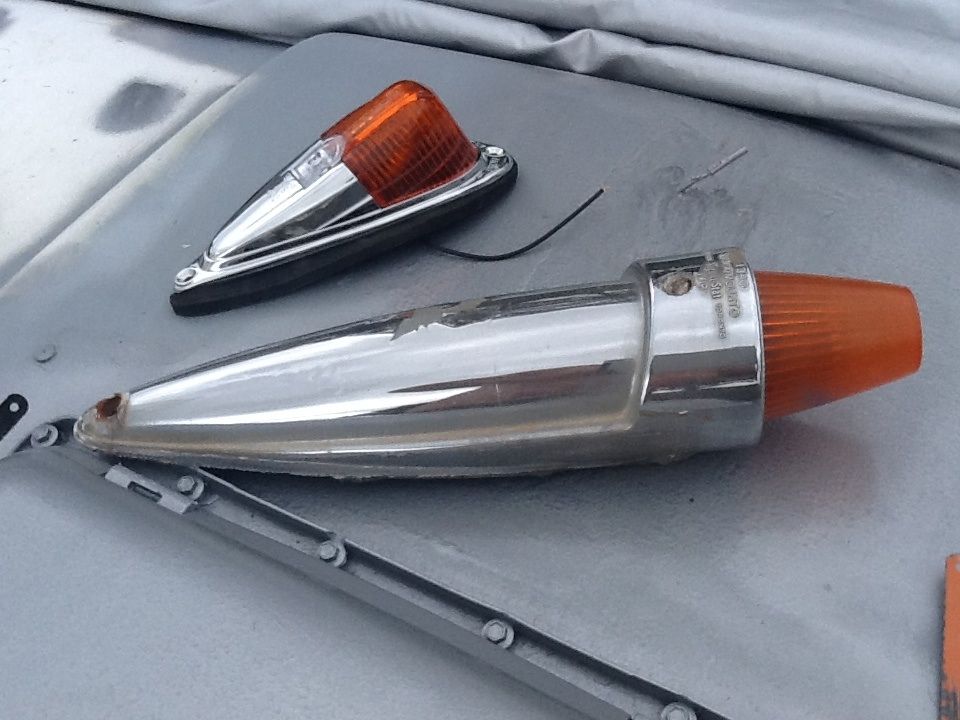
So started by removing the old ones and of course the screws were all rusted solid so had to manoeuvre a hack saw blade to carefully cut them to release the screws and free up the lights to be prized off.
Used a fibreglass filler to patch the holes from the larger lights and then started to fit the new ones as they would have been located originally, so far so good ass per photos.
Thinking I could pull this off by keeping the old wires and re attaching them to the new lights was as I discovered a little optimistic as
1. The wires popped off their joiners inside the roof! And
2. When I removed the two extra bullet lights no longer needed I just pushed the wires back in and patched the holes and then realised this of course would leave a break in the connection between the remaining lights!
So I did what I should done from the start and removed the interior head lining which was handy as it showed various frayed and poorly connected wires as well as a huge amount of ancient dirt and dust that was good to clean up.
Please Log in to join the conversation.
Time to create page: 0.581 seconds