- Posts: 5407
- Thank you received: 2500
A was for Austin, but now B is for Bedford
2 years 1 month ago #232513
by hayseed
"Be who you are and say what you feel...
Because those that matter...
don't mind...
And those that mind....
don't matter." -
Replied by hayseed on topic A was for Austin, but now B is for Bedford
Cobbadog, sounds like Permatex #2 to Me...
"Be who you are and say what you feel...
Because those that matter...
don't mind...
And those that mind....
don't matter." -
Please Log in to join the conversation.
Less
More
- Posts: 6821
- Thank you received: 4714
2 years 1 month ago #232519
by Mrsmackpaul
Your better to die trying than live on your knees begging
Replied by Mrsmackpaul on topic A was for Austin, but now B is for Bedford
The number one problem I have found for rocker covers and the like not sealing is the are bent from been over tightened, most times even if they are badly damaged I can panel beat them back into shape and get a good result
The funny part is when we see something leaking the first thing we all do is nip it up a bit to try and stop the leak and this when the tin work gets bent, it then leaks worse so we nip it up some more
By now we have generally stuffed the whole show up
I think this was very common on GM 2 stroke rocker covers and and air box covers
Paul
Your better to die trying than live on your knees begging
Please Log in to join the conversation.
2 years 1 month ago #232521
by asw120
Way back, the mate's hemi Centura was leaking. The rocker cover screws were done up so tight, they had split through. Off to the wreckers....
Jarrod.
“I offer my opponents a bargain: if they will stop telling lies about us, I will stop telling the truth about them”
― Adlai E. Stevenson II
Replied by asw120 on topic A was for Austin, but now B is for Bedford
The number one problem I have found for rocker covers and the like not sealing is the are bent from been over tightened, most times even if they are badly damaged I can panel beat them back into shape and get a good result
The funny part is when we see something leaking the first thing we all do is nip it up a bit to try and stop the leak and this when the tin work gets bent, it then leaks worse so we nip it up some more
By now we have generally stuffed the whole show up
I think this was very common on GM 2 stroke rocker covers and and air box covers
Paul
Way back, the mate's hemi Centura was leaking. The rocker cover screws were done up so tight, they had split through. Off to the wreckers....
Jarrod.
“I offer my opponents a bargain: if they will stop telling lies about us, I will stop telling the truth about them”
― Adlai E. Stevenson II
Please Log in to join the conversation.
2 years 1 month ago #232527
by PDU
Replied by PDU on topic A was for Austin, but now B is for Bedford
100% ")
Please Log in to join the conversation.
2 years 1 month ago #232530
by cobbadog
Cheers Cobba & Cobbarette
Coopernook, The Centre of our Universe
Working on more play time.
Replied by cobbadog on topic A was for Austin, but now B is for Bedford
Yes Hayseed it is Permatex #2. First thing I did when I opened the shed today was have a look.
As for over tightening the covers you are right on th mark MrsMack. The David Brown is a rocker cover made of the usual pressed sheet metal and held in place with 2 knurled round knobs in a similar style to the old Holden grey motors only they used 2 nuts.
Anyway back to the GOOP, being Permatex #2 I sure recomend its use providing you do the right thing and have clean surfaces and again I wipe it all down with thinners.
Cheers Cobba & Cobbarette
Coopernook, The Centre of our Universe
Working on more play time.
Please Log in to join the conversation.
2 years 4 weeks ago - 2 years 4 weeks ago #233556
by PDU
Replied by PDU on topic A was for Austin, but now B is for Bedford
Feels like I haven't been here for ages, but little things do keep happening - it's just that they seem to take for ever with little significance to anyone but me. :huh:
Obviously the head is back on, and after weeks of head scratching with no signs of life I narrowed it down to a crappy coil; tried all my spare units (albeit previously considered to be faulty) and finally nicked one off my wife's Triumph Herald, allelujah, all systems are now go.")
Being my own worst enemy this was using the plugs that were in the replacement head (after some judicious cleaning - broke one electrode porcelain! :whistle:) and left the old points and condensor because they were working previously. My approach is if you can get it running with all the old s*it in place it can only get better(?) Flywheel cover back on, split pins put into brake and clutch linkages, actually fitted clamps to the fuel lines at the electric pump :ohmy:, and threaded the wiring down along the chassis rail after connecting the rearward wires to the front section.
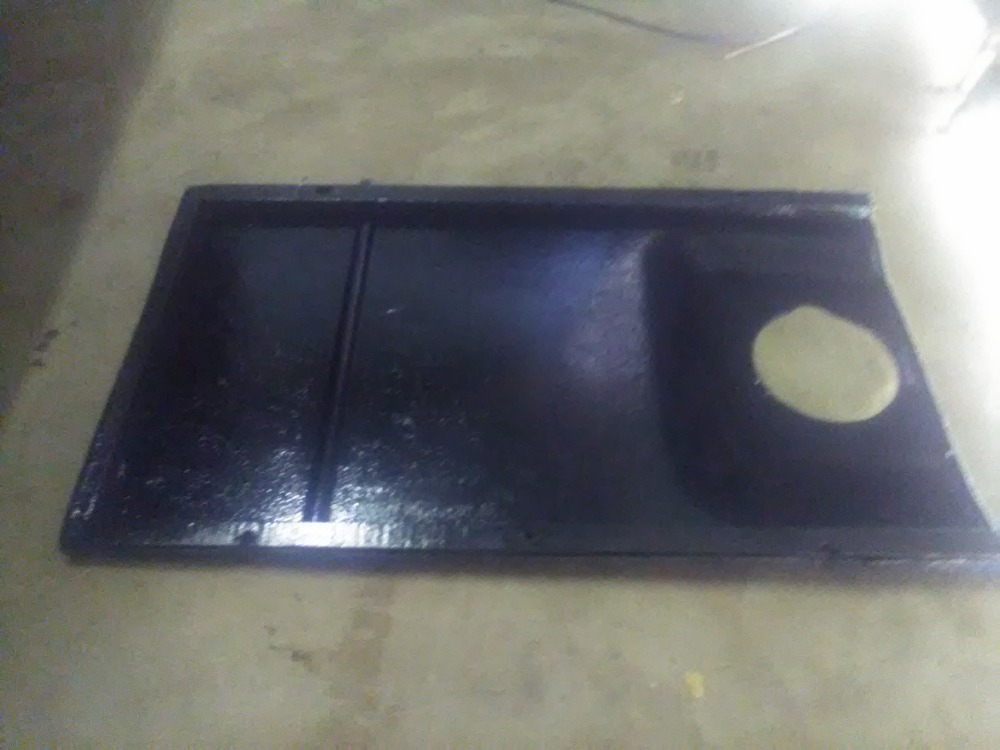
Phew; then it was time for the splash aprons that were taken off during the first weeks of ownership . . .
. . . seemingly straight forward entailing wire brush and grinding the welded splits, coat of rust preventative, followed by a coat of "hide the oil drips" black and then fit them back on. Easier said than done - five hour extravaganza resetting the exhaust system through hole in left splash apron, and acquiring suitable nuts and screws to hold it all together, and finally trying to figure how on earth the third piece fitted under the sump!? For the life of me I could not see any remotely likely holes to attach this, so decided to leave it off. Have you got one on yours Pierre?
Replaced the old radiator hoses and clamps and then refitted the fan shroud (ditto the situation with the splash aprons) ultimately refitting the radiator into place at two o'clock in the morning as I couldn't sleep. :side:
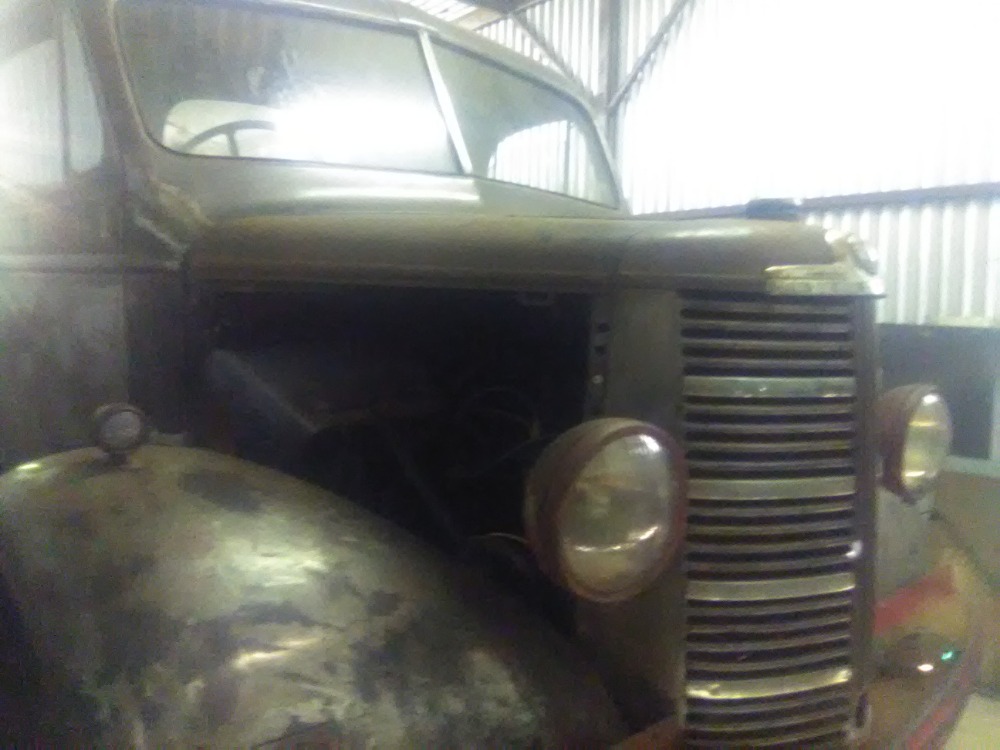
The following day saw the nose cone back on again (at last) and turned it over. :pinch: Fan hitting the shroud! I could possibly stop this by adjusting the radiator stays but I'm not ready for that yet (and would like to run it - incentive like) so tried bending the blades forward a tad . . . almost okay, but not okay enough! Closer inspection suggests the radiator need s to be mounted a wee bit higher, so longer bolts purchased (new :blink: because I couldn't find four suitable ones of the same size in my spares) and ready for me to lift the whole shebang to slip in an extra 1/4" packer each side IF the longer bolts can be slotted in. This will be postponed until later (maybe tonight???) and hopefully will be achieved without having to separate the fender support bar from the chassis to gain clearance for the bolts! If this happens I'll be in for another marathon event.
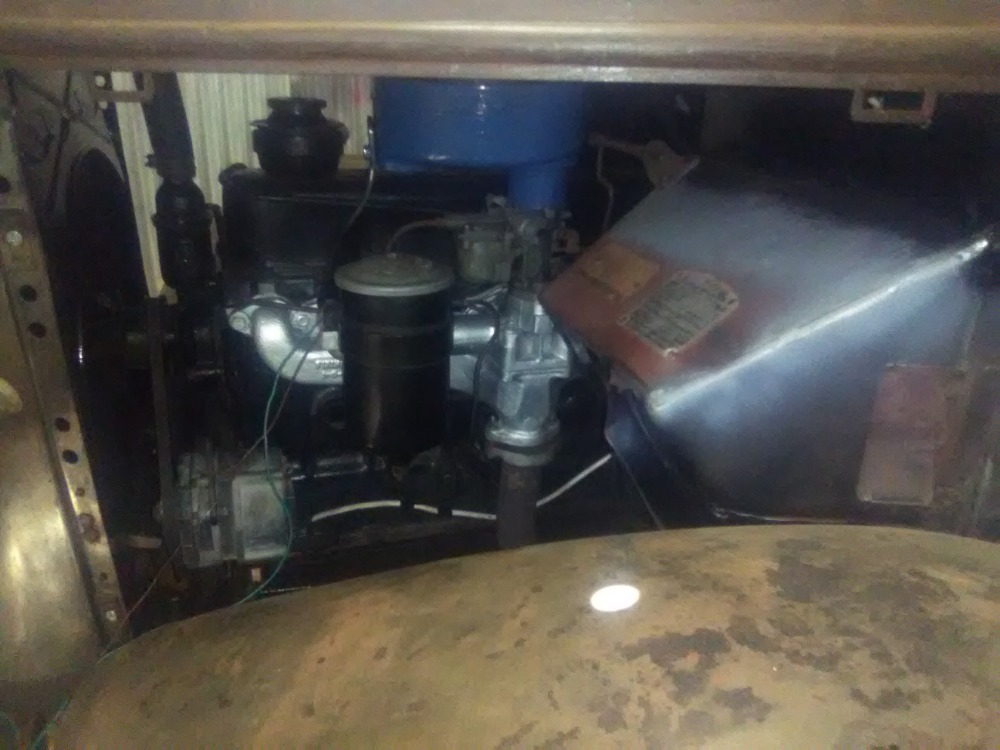
Once that is completed I can go back to the wiring again, figuring out where to run the wires for indicators, etc - virtually impossible without the nosecone in place. A bonus with the replacement head was the later model small carburettor plus offset aircleaner which works perfectly on the O Type (and no, it is not staying blue).
PDU is feeling happier once more.
Obviously the head is back on, and after weeks of head scratching with no signs of life I narrowed it down to a crappy coil; tried all my spare units (albeit previously considered to be faulty) and finally nicked one off my wife's Triumph Herald, allelujah, all systems are now go.
Being my own worst enemy this was using the plugs that were in the replacement head (after some judicious cleaning - broke one electrode porcelain! :whistle:) and left the old points and condensor because they were working previously. My approach is if you can get it running with all the old s*it in place it can only get better(?)
Flywheel cover back on, split pins put into brake and clutch linkages, actually fitted clamps to the fuel lines at the electric pump :ohmy:, and threaded the wiring down along the chassis rail after connecting the rearward wires to the front section.Phew; then it was time for the splash aprons that were taken off during the first weeks of ownership . . .
. . . seemingly straight forward entailing wire brush and grinding the welded splits, coat of rust preventative, followed by a coat of "hide the oil drips" black and then fit them back on. Easier said than done - five hour extravaganza resetting the exhaust system through hole in left splash apron, and acquiring suitable nuts and screws to hold it all together, and finally trying to figure how on earth the third piece fitted under the sump!? For the life of me I could not see any remotely likely holes to attach this, so decided to leave it off. Have you got one on yours Pierre?
Replaced the old radiator hoses and clamps and then refitted the fan shroud (ditto the situation with the splash aprons) ultimately refitting the radiator into place at two o'clock in the morning as I couldn't sleep. :side:
The following day saw the nose cone back on again (at last) and turned it over. :pinch: Fan hitting the shroud! I could possibly stop this by adjusting the radiator stays but I'm not ready for that yet (and would like to run it - incentive like) so tried bending the blades forward a tad . . . almost okay, but not okay enough! Closer inspection suggests the radiator need s to be mounted a wee bit higher, so longer bolts purchased (new :blink: because I couldn't find four suitable ones of the same size in my spares) and ready for me to lift the whole shebang to slip in an extra 1/4" packer each side IF the longer bolts can be slotted in. This will be postponed until later (maybe tonight???) and hopefully will be achieved without having to separate the fender support bar from the chassis to gain clearance for the bolts! If this happens I'll be in for another marathon event.
Once that is completed I can go back to the wiring again, figuring out where to run the wires for indicators, etc - virtually impossible without the nosecone in place. A bonus with the replacement head was the later model small carburettor plus offset aircleaner which works perfectly on the O Type (and no, it is not staying blue).
PDU is feeling happier once more.
Last edit: 2 years 4 weeks ago by PDU.
The following user(s) said Thank You: 180wannabe, cobbadog, Morris, Mrsmackpaul, PaulFH, Pierre, oliver1950
Please Log in to join the conversation.
2 years 4 weeks ago #233557
by cobbadog
Cheers Cobba & Cobbarette
Coopernook, The Centre of our Universe
Working on more play time.
Replied by cobbadog on topic A was for Austin, but now B is for Bedford
Progress is progress no matter what happens. The david Brown tractor uses a lump of rubber under the bottom radiator support brackets which lifts it by that magical 1/4" It is similar to conveyor belting rubber.
Cheers Cobba & Cobbarette
Coopernook, The Centre of our Universe
Working on more play time.
The following user(s) said Thank You: PDU
Please Log in to join the conversation.
2 years 4 weeks ago - 2 years 4 weeks ago #233559
by PDU
Replied by PDU on topic A was for Austin, but now B is for Bedford
That is what I have under it now cobbadog surely you didn't think I would go out and buy new ones!
 Probably two wooden packers underneath that, or preferably a bit of steel if there is a convenient piece in my scrap metal off-cuts department.
surely you didn't think I would go out and buy new ones!
Last edit: 2 years 4 weeks ago by PDU.
The following user(s) said Thank You: cobbadog
Please Log in to join the conversation.
2 years 4 weeks ago - 2 years 4 weeks ago #233563
by PDU
Replied by PDU on topic A was for Austin, but now B is for Bedford
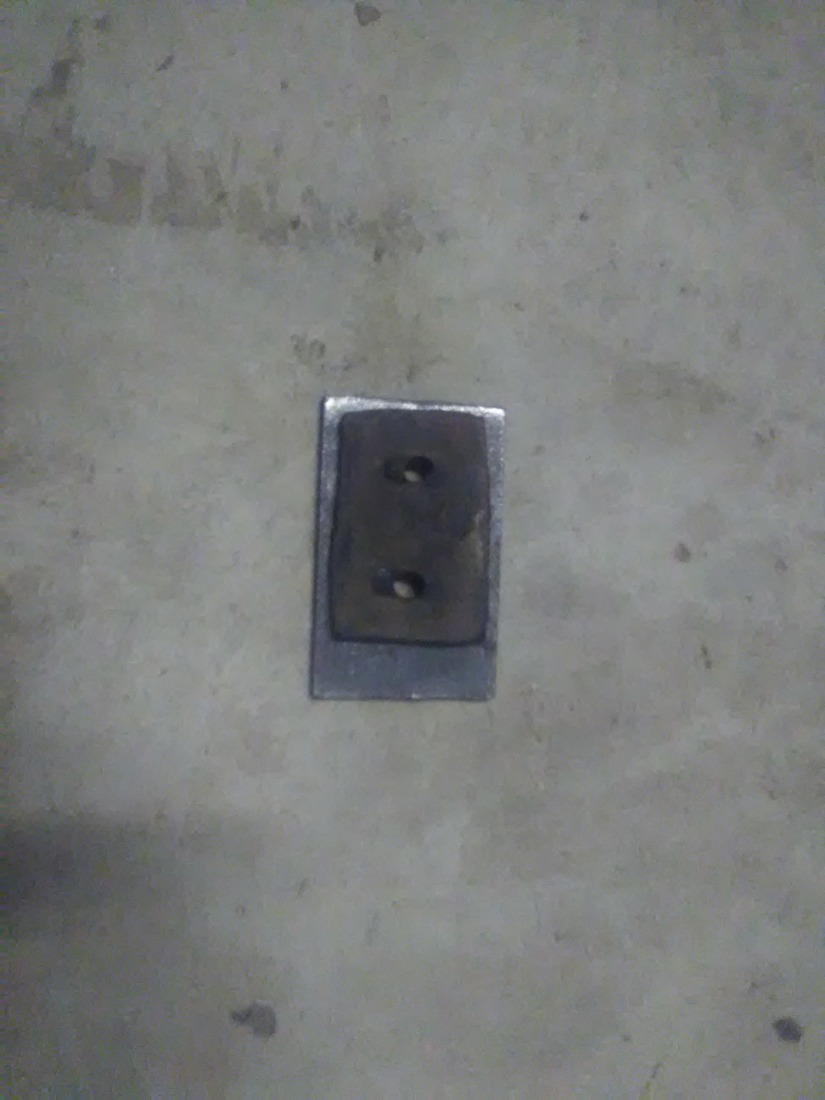
Ignored it until 8pm, then went outside. Looked through my scrap bin and found some metal too thin, and some too thick (I don't want the nose cone sitting in such a way that the style-line isn't horizontal). Having failed in the scrap bin I wandered around the shed looking for the impossible - and actually found it! Two pieces that I had picked up at the Men's Shed about a year and a half ago, because they simply looked like they might be useful someday. :huh: Today was that day . . . :woohoo:
I kid you not this was an incredible bit of luck, two holes in each of them, the right spacing to suit the chassis and when pushed back into the frame actually could have been cut for the purpose!!
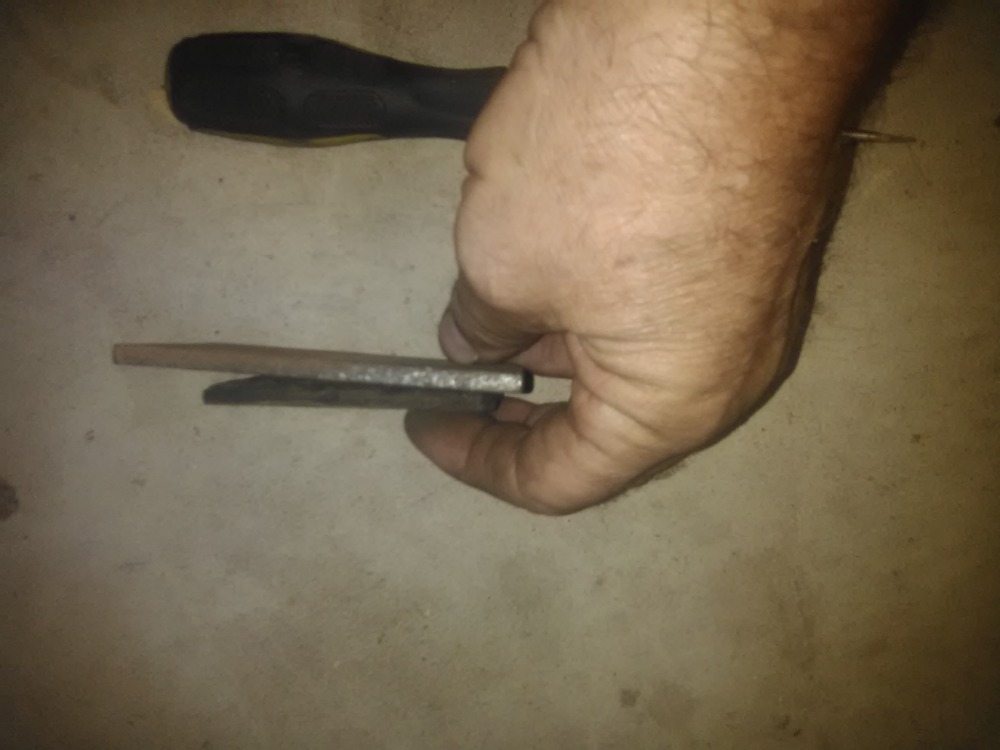
Having slotted one into place I thought I'd better get some photographic evidence for this bit of good fortune. Below is the remaining "original" rubber pad showing the hole spacing, and the thickness of the metal plate, which is exactly what I was looking for.

Lifting the nose cone and radiator (full of water and with hoses still connected) was not as easy as it would have been if I had emptied it first, but this is me, no sense undoing it and flooding the shed out, not without trying it first . . . :whistle:
. . . but I got it all back together (just short of one hour of my life gone forever) and after checking fan clearance fired the truck up with no problems at all, idling better than it ever has before, no doubt courtesy the replacement carburettor. A good day that has got even better.
Moral for today: Never pass by something that looks useful, and never throw away the scrap bits. :lol:
I kid you not this was an incredible bit of luck, two holes in each of them, the right spacing to suit the chassis and when pushed back into the frame actually could have been cut for the purpose!!
Having slotted one into place I thought I'd better get some photographic evidence for this bit of good fortune. Below is the remaining "original" rubber pad showing the hole spacing, and the thickness of the metal plate, which is exactly what I was looking for.
Lifting the nose cone and radiator (full of water and with hoses still connected) was not as easy as it would have been if I had emptied it first, but this is me, no sense undoing it and flooding the shed out, not without trying it first . . . :whistle:
. . . but I got it all back together (just short of one hour of my life gone forever) and after checking fan clearance fired the truck up with no problems at all, idling better than it ever has before, no doubt courtesy the replacement carburettor. A good day that has got even better.
Moral for today: Never pass by something that looks useful, and never throw away the scrap bits. :lol:
Last edit: 2 years 4 weeks ago by PDU.
The following user(s) said Thank You: 180wannabe, cobbadog, Mrsmackpaul, PaulFH, Pierre, asw120, oliver1950
Please Log in to join the conversation.
2 years 4 weeks ago #233564
by cobbadog
Cheers Cobba & Cobbarette
Coopernook, The Centre of our Universe
Working on more play time.
Replied by cobbadog on topic A was for Austin, but now B is for Bedford
I think some would say it is Karma paying you bak for all the grief so far. Yep, I find it hard to toss scrap metal out and often find a use for these bits. Today we bought another garden light and I wanted to just fit the lamp part on top of an existing post. New post slightly bigger than old one on the ID. So cut a 4" piece off and thought I would drill and screw it. Well this pice of almost shim thickness tube was the hardest bit of metal I've tried to drill for years. Initially thought it was a blunt drill bit but 2 brand new ones were not any better. Finally got the b@st@rd.
Cheers Cobba & Cobbarette
Coopernook, The Centre of our Universe
Working on more play time.
The following user(s) said Thank You: PaulFH
Please Log in to join the conversation.
Time to create page: 0.655 seconds